

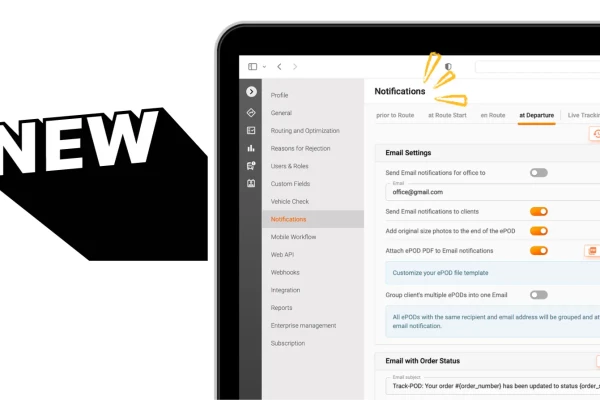
Branded customer email notifications
Delivery notifications in Track-POD Web are better than ever. Check out the new look of our notifications settings + brand-new features you can use today to get the most out of shipping updates.
Read More
Imagine working in a bustling city with numerous unscheduled deliveries across different areas and drivers waiting for their assigned routes. It may seem impossible to allocate addresses to drivers based on their locations manually, but with current logistics advancements, there is a solution, and Track-POD offers one. Our map zone feature automates delivery scheduling through the map zone creation and assignment process. You need to select the specific zones on the map with your cursor!
Keep reading to learn how to use map zones within the Track-POD platform.
This blog article will review how to use the map zones feature for route optimization within the Track-POD platform.
The map zone selection consists of the 2 main aspects listed below:
1 - Setup. Create the desired zones on the map, name them, and assign zones to drivers.
2 - Order routing. Manual or automated routing feature to build routes within the zones.
To set up and learn the zone creation and assignment process inside Track-POD platform, follow the steps below:
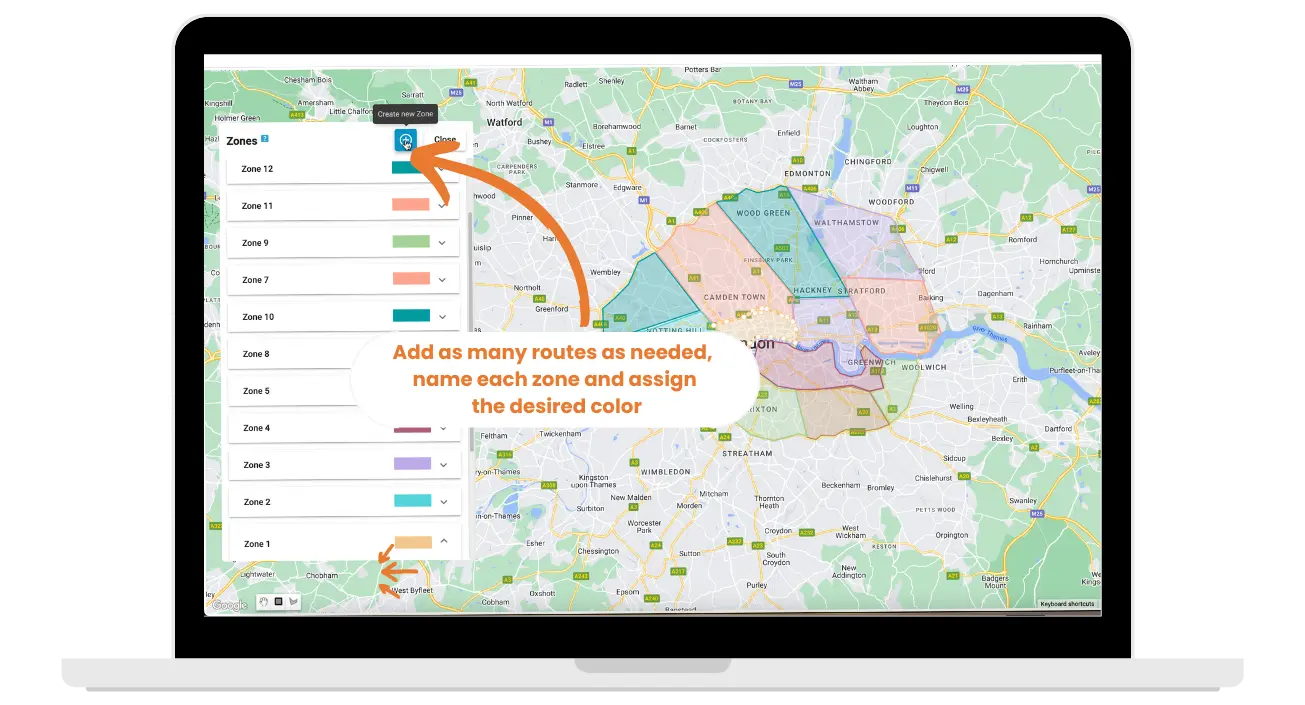
Create the desired zones on the map, name them, and assign zones to drivers.
Log in to Track-POD. Go to your map screen—click settings, and select the “zones” option on the right side of the screen, as presented in the screenshot below. Then click the “edit zones” option inside the same section. Use your mouse as a pencil to start selecting your zone. In this example, you will see the London map split by zones. Each dot requires a click to confirm and connect the selections.
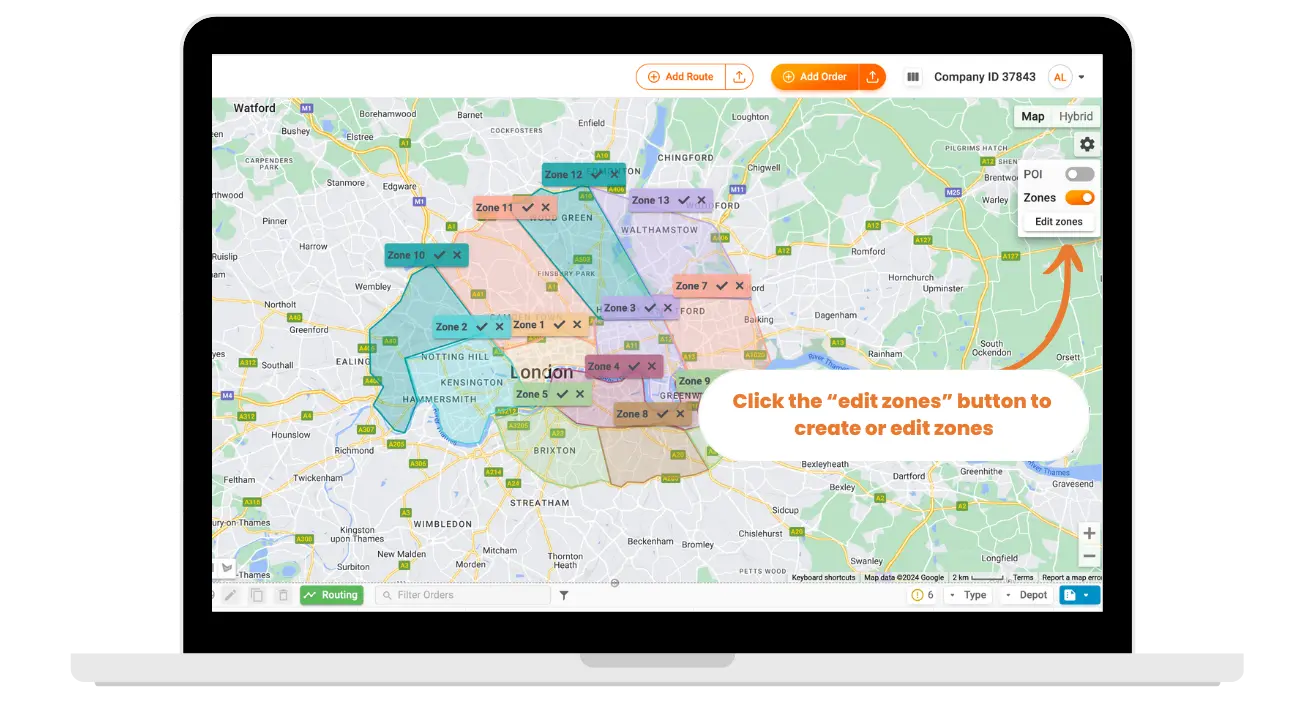
See the screenshot below so everything is stress-free!
After the zones have been successfully created, it is time to assign the zones. To assign each zone to your delivery drivers, go to the Driver Directory (click Directories -> Drivers) and start editing your driver details. When editing a driver, select the zones you need the driver to cover and click “Save” button. See the example below.
Please note - you can assign more than one zone to one driver.
Lastly, go to “routing and optimization” in the settings and ensure that the “match drivers and orders zone” option is enabled. 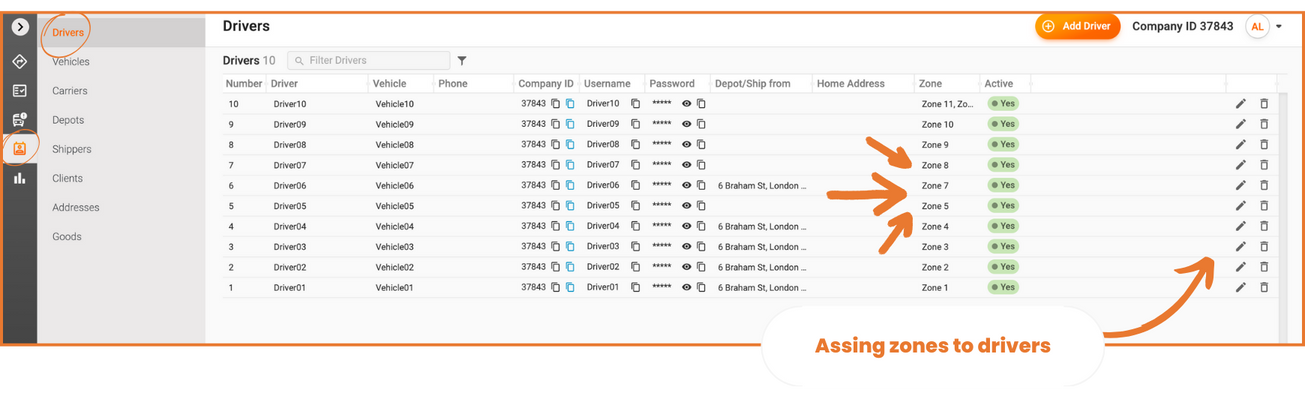
Setup needs to be done only once!
Manual or automated routing feature to build routes within the zones.
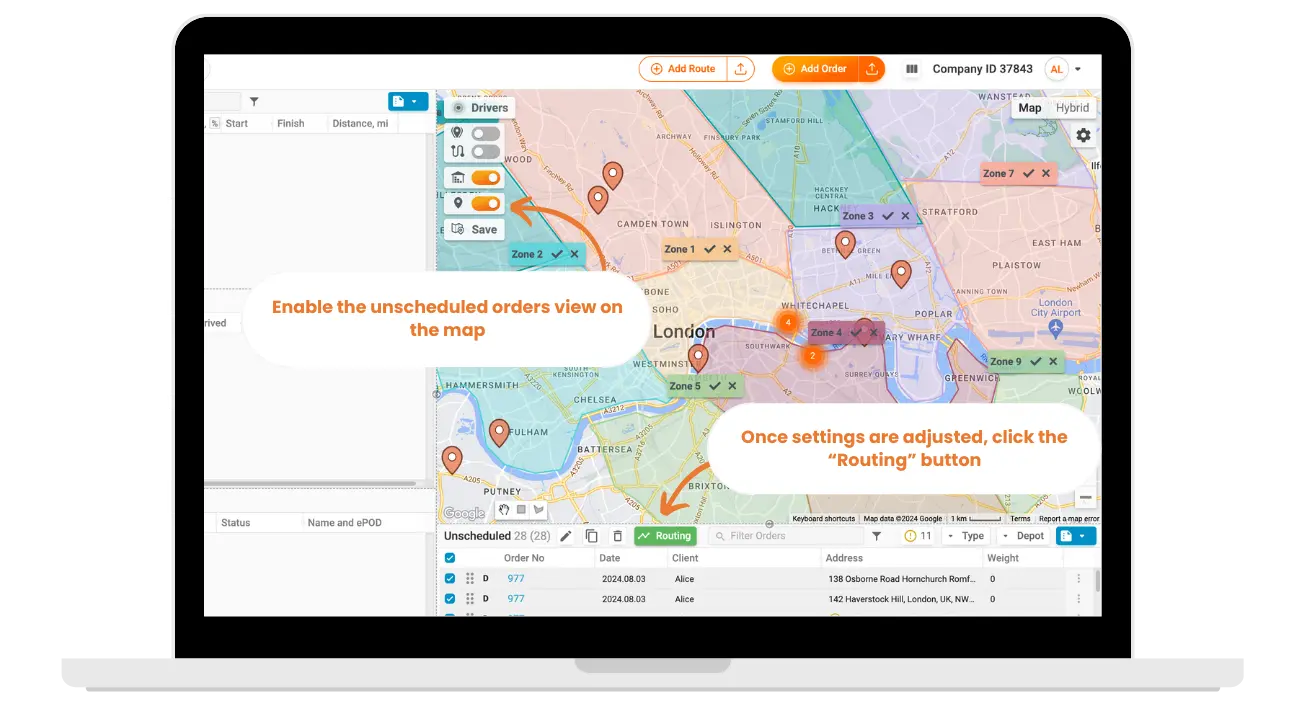
Start by enabling the “unscheduled orders” view on the map and selecting the zones you will work with.
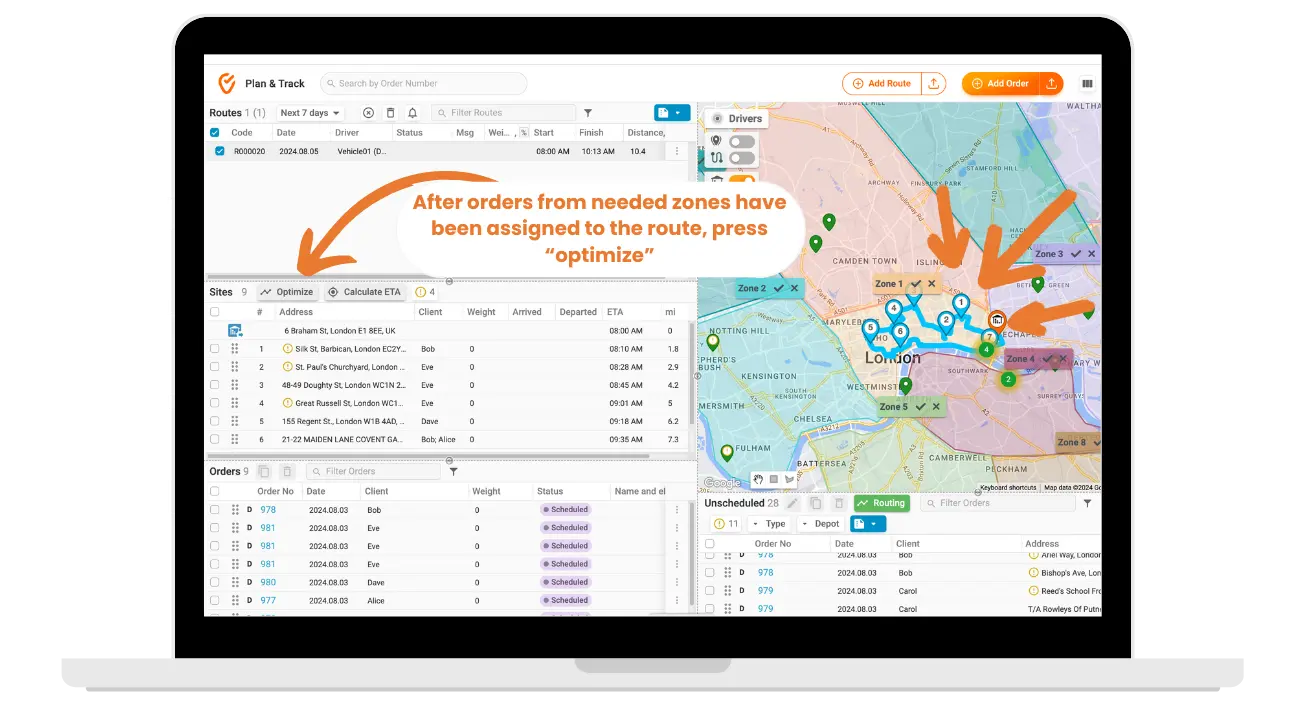
It is time to build a route! Select the unscheduled orders view within a certain zone. Then, add a route and drag and drop orders into the new route from the “unscheduled field.” Click the “Optimize” button, and you will see the route being built on the map. See the screenshot below.
In this case, the route was built for the orders within Zone 1.
While in the “unscheduled orders” view, select applicable orders and zones and then click the “Routing” button!
You can build zones using manual and automated routing by following our step-by-step video guide.
Route optimization is challenging unless you have an experienced partner in the industry! Sign up for a demo at Track-POD and learn how many benefits our platform can bring to your business by simplifying and optimizing delivery management and route scheduling. And most importantly, the price starts at just $29/month per driver!
Delivery notifications in Track-POD Web are better than ever. Check out the new look of our notifications settings + brand-new features you can use today to get the most out of shipping updates.
Read More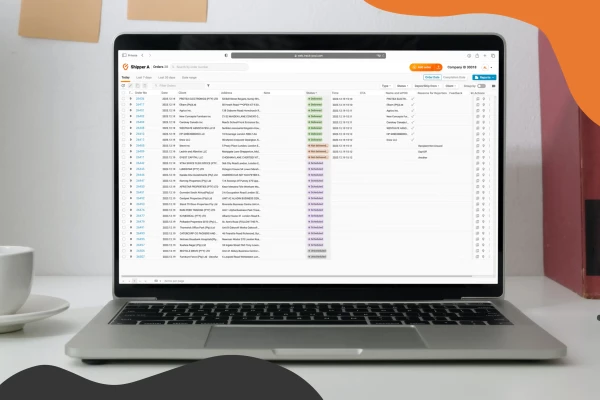
Use Track-POD client portal software to create accounts for your shippers and let them add, track, print shipping labels, and download Proof of Delivery for their orders.
Read More
Track-POD integrates with leading navigation apps, including Google Maps, Waze, Hammer, HERE We Go, Sygic, Mapy. cz, and now TruckMap. Choose the GPS navigator that best suits your business needs in 2026.
Read More